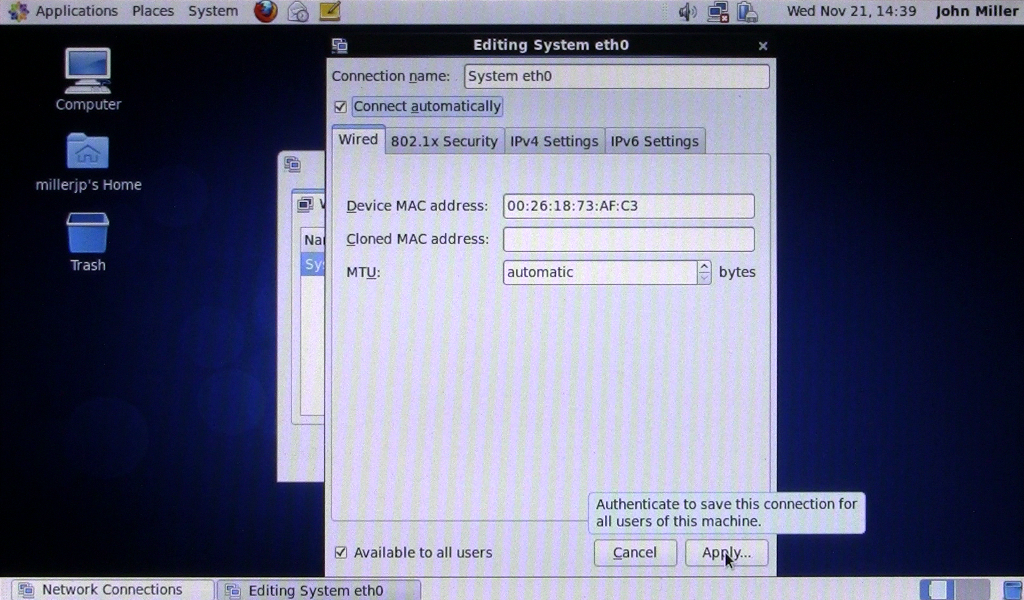
26) Select “Connect automatically”, then “Apply”:
Click on the image above for a full-resolution screenshot
This will bring up your network connection now and every time you reboot. It will get the network information from your DHCP server. If you want a fixed IP address or have other specific network settings, you should adjust them now. You can also manage your IP addresses directly on your DHCP server by mapping your MAC address to an IP address.
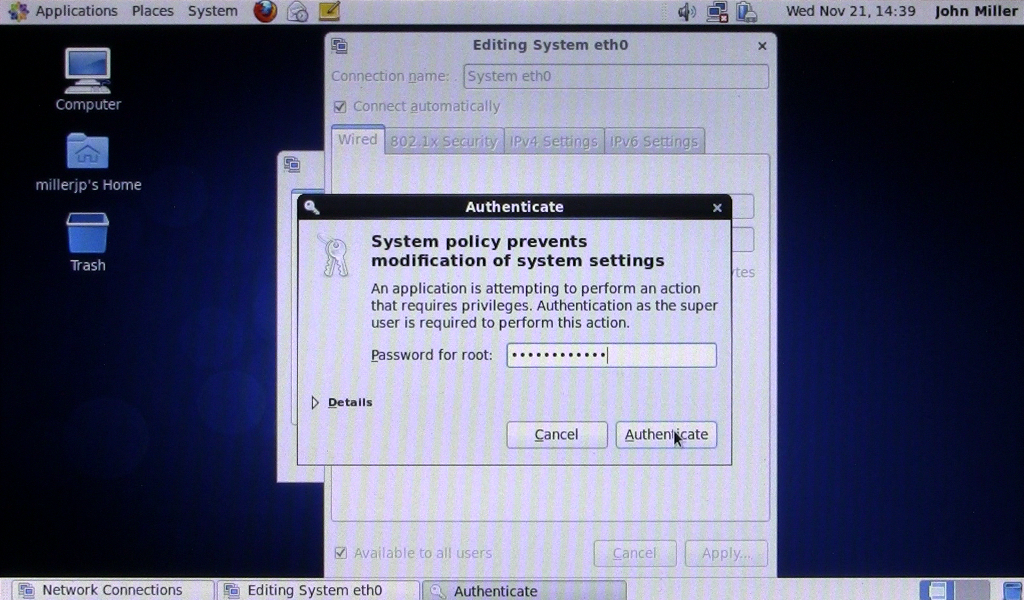
27) Type in the root password, then “Authenticate”:
Click on the image above for a full-resolution screenshot
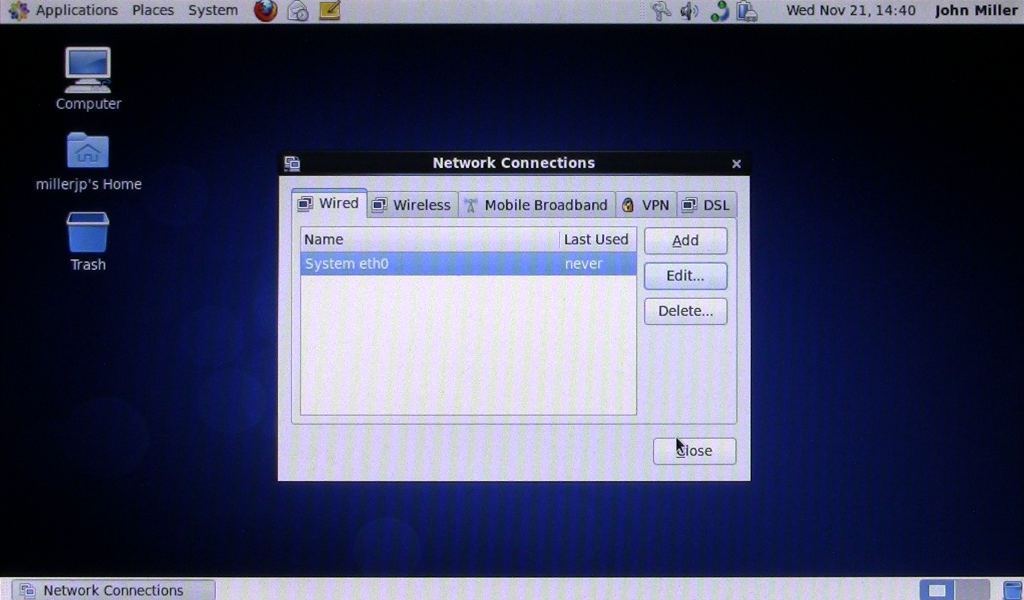
28) Click “Close”:
Click on the image above for a full-resolution screenshot
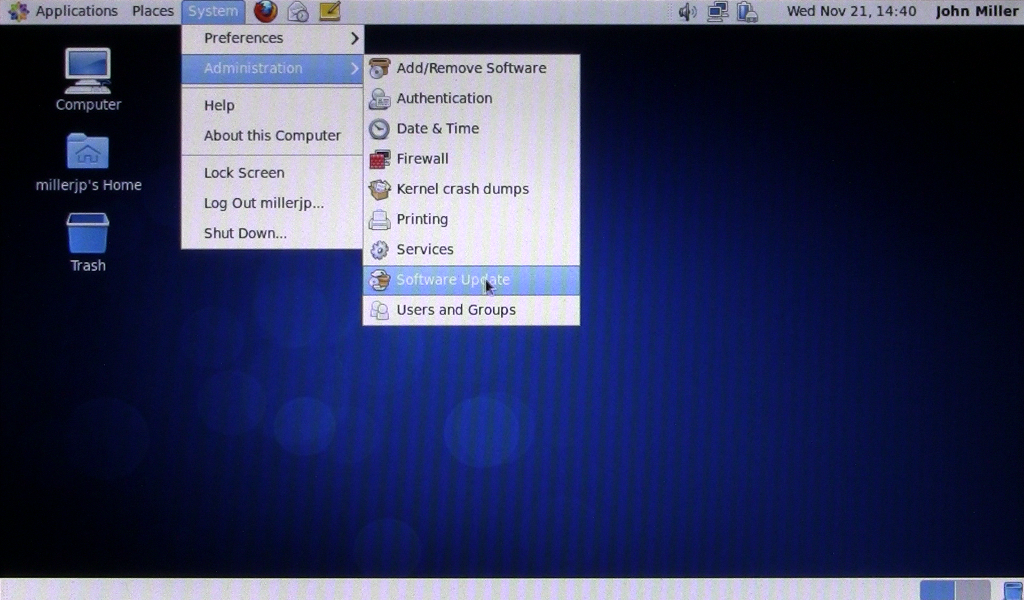
29) “System” -> “Administration” -> “Software Update”:
Click on the image above for a full-resolution screenshot
Search for all of the software updates.
30) Click “Install Updates”:
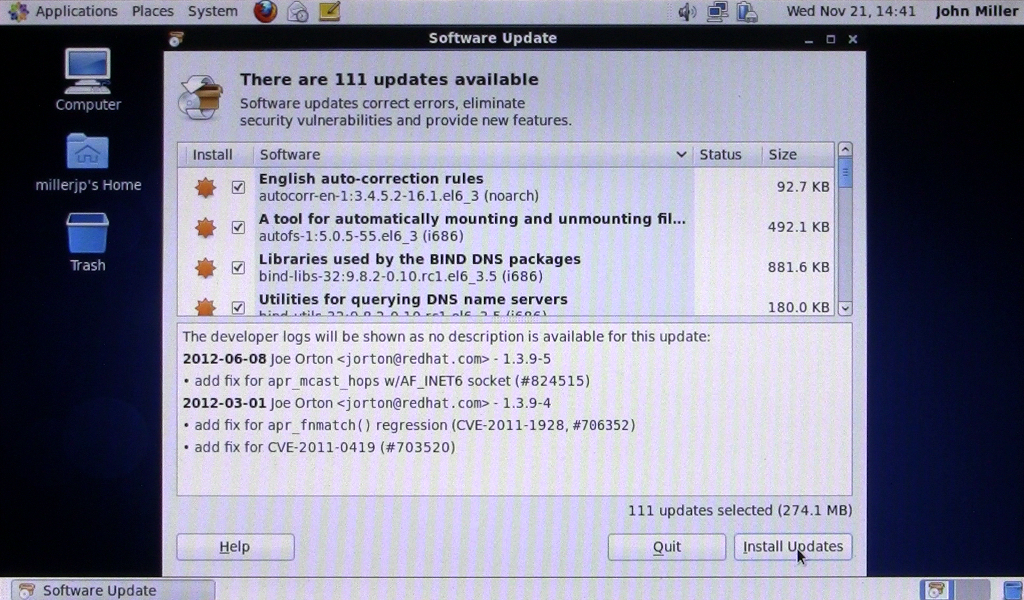
Click on the image above for a full-resolution screenshot
Pingback: Comment installer CentOS 6.3 sur un Asus Eee PC 900HD | John Miller